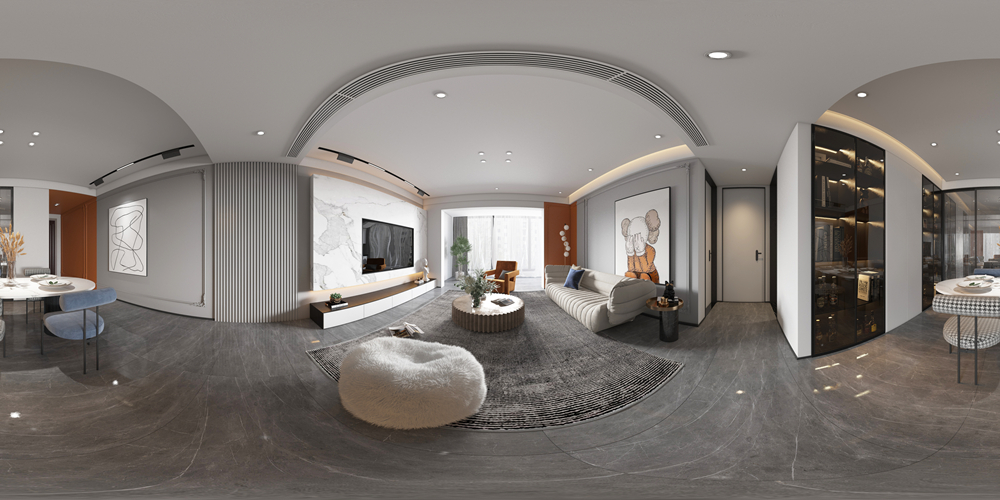
Cracking the Code: Extracting Stunning Panoramas from Video Footage
Video footage holds a wealth of untapped visual potential, and the ability to extract panoramas from it is like cracking a secret code to reveal breathtaking wide - angle views. This process allows you to take a sequence of moving images and transform them into a single, immersive panorama that captures the essence of a scene in its entirety. Here’s a detailed look at how you can master the art of creating panoramas from your videos.

Ⅰ、Video Selection: The Key to Success
The first and most critical step in the process is choosing the right video. Look for footage with smooth, continuous camera movements, such as slow pans across a landscape, gentle rotations around an object, or steady tracking shots along a path. Avoid videos with jerky motions, rapid zooms, or frequent cuts, as these can make it challenging to stitch the frames together seamlessly. Additionally, consider the content of the video. Scenes with a wide range of visual elements, like a busy marketplace, a vast beach, or a multi - faceted architectural structure, tend to make for more engaging panoramas.
Ⅱ、Frame Extraction: Gathering the Building Blocks
Once you've selected the perfect video, it's time to extract the frames. You can use a variety of video editing software, both free and paid, for this task. Popular options include Shotcut, a free and open - source program, and Adobe Premiere Pro, a professional - grade software. Navigate through the video timeline and mark the start and end points of the segment you want to use for the panorama. Then, export the frames at regular intervals. A good rule of thumb is to export one frame every 1 - 2 seconds, but you may need to adjust this based on the speed of the camera movement in the video. Make sure to extract enough frames to cover the entire scene and ensure sufficient overlap between consecutive frames for accurate stitching.
Ⅲ、Panorama Stitching: Putting the Pieces Together
After extracting the frames, it's time to stitch them together into a panorama. There are several dedicated software tools available for this purpose, such as Hugin, PTGui, and Microsoft Image Composite Editor. These programs use advanced algorithms to analyze the overlapping areas of each frame, identify common features, and align the frames automatically. In some cases, you may need to manually adjust the alignment or blending settings to achieve a perfect result, especially if there are complex objects or textures in the scene. Once the frames are aligned and blended, you'll have a seamless panorama that showcases the entire scene in a single, expansive view.
Ⅳ、Post - Processing: Enhancing the Panorama
Once the panorama is stitched together, it's time to enhance its appearance. Use image editing software like Adobe Photoshop, GIMP, or Lightroom to adjust the colors, contrast, and sharpness of the image. You can also remove any unwanted elements, such as lens flares, distractions, or artifacts, and add creative effects to make the panorama more visually appealing. Pay attention to the details, such as ensuring that the horizon line is straight and that the overall composition is balanced. These post - processing steps can take your panorama from good to great.
Ⅴ、Sharing and Displaying: Showcasing Your Creation
With your panorama complete, it's time to share it with the world. You can upload it to social media platforms like Instagram, Facebook, Twitter, or Pinterest, or display it on your personal website or blog. Some platforms even support interactive panoramas, allowing viewers to explore the image in 360 degrees. Consider adding a description or caption to provide context and tell the story behind the panorama, making it more engaging for your audience. Sharing your panorama not only allows you to showcase your creativity but also inspires others to try their hand at this fascinating technique.