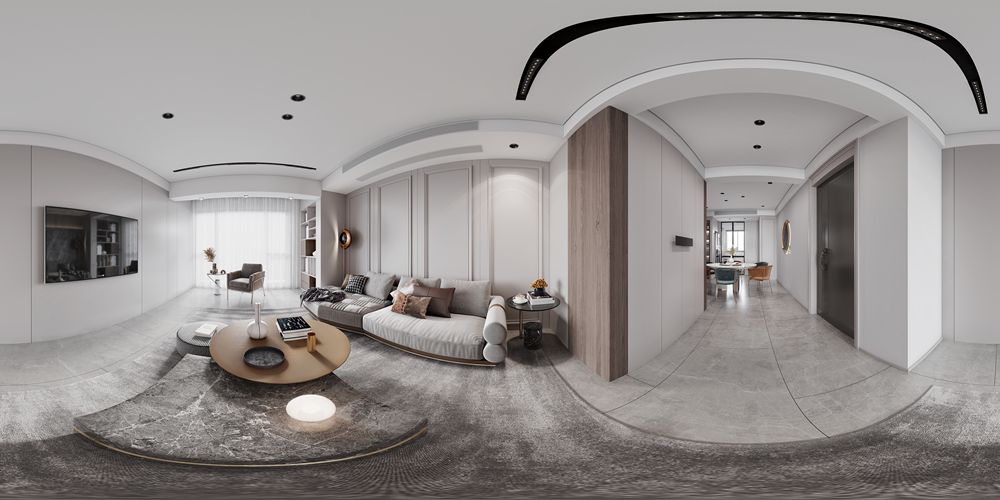
Crafting Panoramic Masterpieces: A Definitive Guide to Video Capture
Panorama videos have the power to transport viewers to expansive landscapes, bustling city scenes, or intimate event settings, offering a more immersive viewing experience than traditional videos. Crafting a panoramic masterpiece requires a blend of technical skill, creative vision, and attention to detail. This guide will walk you through the essential steps to capture stunning panorama videos.

Ⅰ、Selecting the Right Gear
The quality of your equipment can significantly impact the outcome of your panorama video. While many smartphones come with built - in panorama - shooting features, a dedicated camera with manual controls provides greater flexibility and higher - quality results. Look for a camera that allows you to adjust focus, exposure, and white balance. A tripod is a must - have accessory; it stabilizes the camera, preventing shaky footage that can ruin the seamless flow of a panorama. For smooth, dynamic movements, consider using a gimbal. Additionally, ensure your storage device has enough space and your battery is fully charged before starting your shoot.
Ⅱ、Planning Your Shot
Before hitting the record button, take the time to plan your panorama video. Scout the location to find the best vantage points that offer a wide and visually interesting view. Consider the lighting conditions, as they play a crucial role in the mood and clarity of your footage. Soft, diffused light during the golden hours of sunrise or sunset often produces the most captivating results. Map out the starting and ending points of your pan, and visualize the path the camera will take. Think about the key elements you want to include in the frame to create a compelling visual narrative.
Ⅲ、Optimizing Camera Settings
Proper camera settings are essential for a high - quality panorama video. Set the focus manually to ensure the entire scene is sharp from foreground to background. Adjust the exposure according to the lighting; in bright sunlight, decrease the exposure slightly to avoid overexposure, while in low - light situations, increase it to maintain detail. White balance should be adjusted to match the light source, whether it's natural daylight, indoor fluorescent, or another type. Some cameras have a specific panorama shooting mode, but understanding and adjusting the basic settings gives you more creative control over the final look of your video.
Ⅳ、Shooting the Panorama
When you're ready to shoot, start recording at your planned starting point and begin panning the camera slowly and steadily. Smooth, consistent movements are key; jerky motions can disrupt the flow of the video and make it less engaging. If you're using a gimbal, let it guide the movement for a more professional - looking result. As you pan, keep an eye on the composition of the frame, making sure important elements are properly framed and not cut off. For very wide scenes, you may need to make multiple passes and stitch the videos together during the editing process.
V、Editing and Enhancement
After capturing your footage, the editing stage is where you can truly bring your panorama video to life. Trim any unnecessary parts at the beginning and end of the clips. Adjust the color, contrast, and saturation to enhance the visual appeal. You can also add music, sound effects, or voice - overs to create a more immersive experience. Use video editing software that offers features for seamless stitching of panorama videos and correction of any distortion or alignment issues. With careful editing, you can transform your raw footage into a panoramic masterpiece that will leave a lasting impression on your audience.