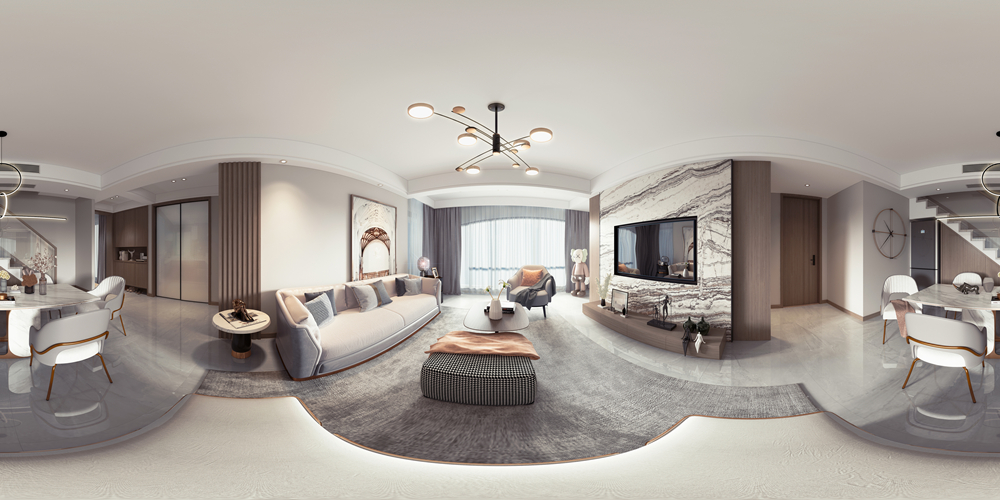
In 3ds Max, rendering a panoramic image can be used to create a 360-degree panoramic view. So, how to render a panoramic image in 3ds Max?
Create and position the camera: First, create a free camera in 3ds Max and place it at an appropriate position in the scene. The height of the camera is usually recommended to be set between 900 and 1200 units to simulate the perspective of the human eye.

Set up rendering parameters: Open the rendering settings panel (shortcut key F10), adjust the output size ratio to 2:1, for example, width 6000 pixels, height 3000 pixels, to ensure the quality of the panoramic image. Set the camera type to spherical and check "Override Field of View (FOV)", setting the angle to 360 degrees.
Choose the appropriate renderer: Commonly used renderers include V-Ray, Corona Renderer, Arnold, and Mental Ray, etc. Each renderer has its own characteristics. For instance, V-Ray excels in ray tracing and global illumination, Corona has a user-friendly interface, Arnold is suitable for high-quality rendering, and Mental Ray performs well in lighting and material handling.
Render the panoramic image: After completing the above settings, start rendering the panoramic image. Once the rendering is complete, you can import the image into panoramic compositing software (such as Zippano) for further processing and viewing.
By following the above steps, you can efficiently render high-quality panoramic images in 3ds Max and perform post-processing and presentation as needed.