

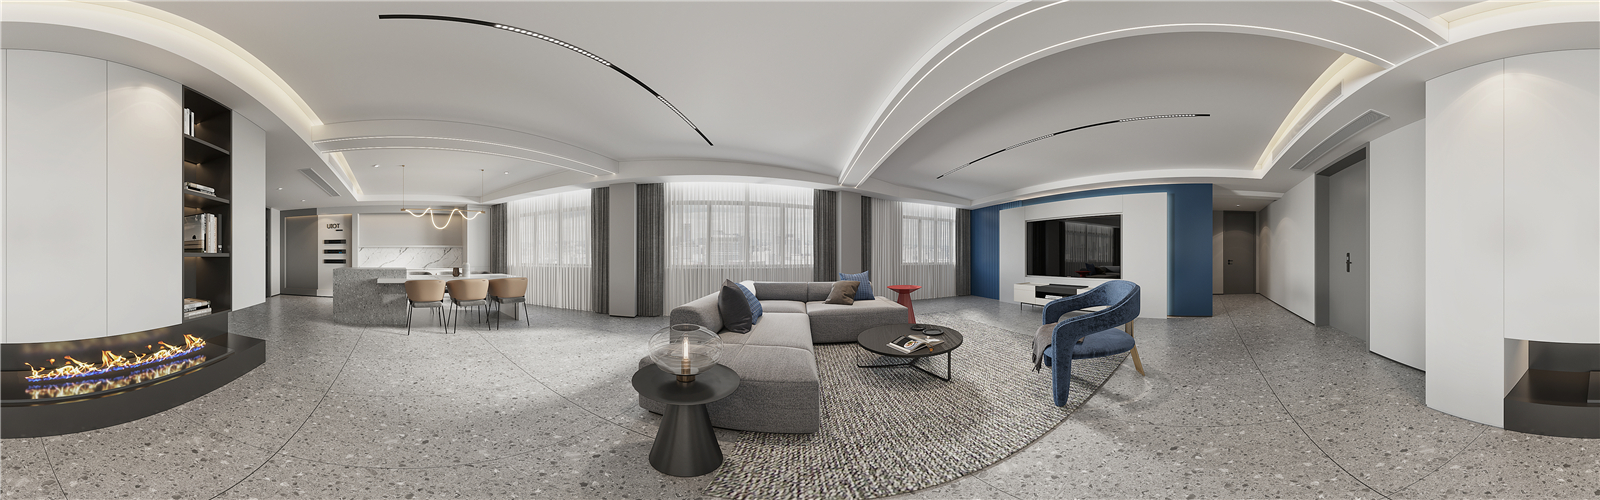
Unleashing the Power of Panorama: A Guide to Picture Creation
Panorama pictures possess a unique charm, allowing photographers to capture expansive scenes that a single frame simply cannot hold. Unleashing the power of panorama creation opens up a world of creative possibilities, enabling you to tell more immersive visual stories. Here’s a comprehensive guide to help you create stunning panorama pictures.

Ⅰ、Vision and Planning
The foundation of a great panorama lies in your vision. Decide on the subject matter that best suits a panoramic format, such as a wide - open landscape, a sprawling city skyline, or a large - scale event. Scout the location beforehand to identify the optimal vantage point and time of day for shooting. Consider the lighting conditions, as they can significantly enhance the mood and detail of your panorama. Sketch out a rough composition in your mind, determining the focal points and the flow of the scene within the wide - angle frame.
Ⅱ、Equipment and Technique
While you can create panoramas with various cameras, having a stable setup is crucial. A tripod minimizes camera shake, ensuring sharp and consistent images. Set your camera to manual mode to maintain control over key settings like focus, exposure, and white balance throughout the shooting process. When taking photos, overlap each frame by about 30 - 50%. This overlap provides the necessary data for seamless stitching later. Move the camera slowly and smoothly from one end of the scene to the other, pivoting from your hips to keep the camera level.
Ⅲ、Capturing the Shots
Start capturing images from one side of the scene and work your way across. Take your time with each shot, ensuring proper composition and focus. If possible, take multiple sets of overlapping images from the same position. This provides additional options during the editing process and increases the likelihood of achieving a perfect alignment. Be mindful of any moving objects in the scene, as they can cause issues during stitching. If there are people or vehicles, try to time your shots when they are in a less obtrusive position.
Ⅳ、Stitching the Panorama
Once you have all the necessary images, it’s time to stitch them together using software. There are numerous programs available, each with its own features and user - friendliness. Import the images into the software, which will analyze the overlapping areas and attempt to align them automatically. In some cases, you may need to manually adjust the alignment points to ensure a precise fit. Pay close attention to the edges of the images to avoid gaps or misalignments. After alignment, the software will blend the images to create a single, continuous panorama.
Ⅴ、Refinement and Finalization
After stitching, review the panorama for any imperfections. Check for uneven lighting, color discrepancies, or blurriness. Use the editing tools in the software to make final adjustments, such as enhancing the contrast, adjusting the saturation, and sharpening the image. Crop the edges if needed to improve the composition and remove any unwanted elements. When you’re satisfied with the result, save the panorama in a suitable format for sharing or printing, and showcase the powerful and captivating image you’ve created.