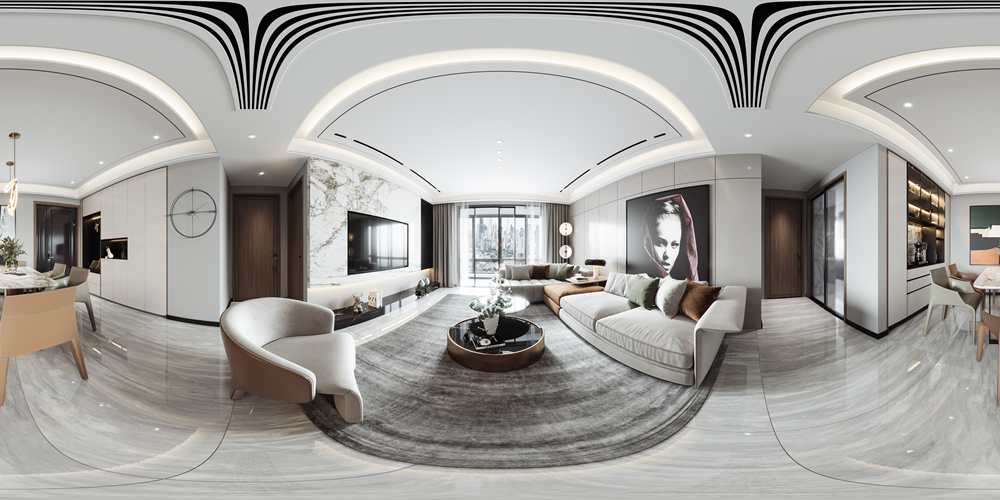
Unlocking the Secrets of Panorama Creation
Creating a panorama is a captivating endeavor that allows you to capture the vastness and beauty of a scene in a single, expansive image. Whether you're a photography enthusiast looking to document a stunning landscape or a creative professional aiming to produce immersive visuals, these steps will guide you through the panorama - creation process.

Ⅰ、Conception and Planning
The first step in creating a remarkable panorama is to conceptualize your vision. Decide on the subject matter, whether it's a sprawling natural landscape, a bustling cityscape, or an interesting indoor environment. Research the location, considering factors like the best time of day for lighting, potential vantage points, and any unique features you want to highlight. Sketch out a rough idea of how you want the final panorama to look, including the starting and ending points of your shot. This planning stage will serve as a roadmap, ensuring a more focused and successful shooting process.
Ⅱ、Equipment and Preparation
Having the right equipment is crucial for high - quality panorama creation. A tripod is essential for stability, as even the slightest movement can lead to misaligned images. If you're using a camera, choose a lens that suits your needs. A wide - angle lens is often ideal for capturing more of the scene, but don't be afraid to experiment with other focal lengths for unique perspectives. Before shooting, check your camera settings. Set a low ISO to minimize noise, and use a small aperture (e.g., f/8 - f/11) for a larger depth of field, ensuring that both the foreground and background are in focus. For smartphone users, make sure your device is fully charged and has sufficient storage space, and familiarize yourself with the panorama - shooting mode.
Ⅲ、The Shooting Process
When shooting, start at one end of the scene and move your camera or smartphone in a slow, smooth motion towards the other end. Overlap each shot by approximately 30 - 50% to provide ample information for stitching. Keep your camera level throughout the process to avoid any distortion. If you're shooting in windy conditions, hold your equipment firmly or consider using additional stabilizing gear. Take your time with each shot, ensuring that the composition, focus, and exposure are all correct. If possible, use a remote shutter release or the self - timer function to reduce the risk of camera shake.
Ⅳ、Stitching and Post - Processing
Once you've captured all the necessary shots, it's time to stitch them together. Many cameras and smartphones have built - in stitching capabilities, which are convenient for quick results. However, for more advanced editing, dedicated software such as Adobe Photoshop, Lightroom, or specialized panorama - stitching programs offer greater control. These tools can automatically align and blend the images, but you may need to make manual adjustments to correct any imperfections. After stitching, enhance the overall appearance of your panorama by adjusting the contrast, saturation, and sharpness. You can also use the clone stamp or healing brush tools to remove any unwanted elements from the image.
Ⅴ、Adding the Finishing Touches
To truly make your panorama stand out, consider adding some creative touches. Experiment with different filters or effects to give the image a unique style. You can also add text overlays, such as a title or a location, to enhance the storytelling aspect. However, be careful not to overdo it; the goal is to enhance the image without detracting from its natural beauty. Once you're satisfied with the final result, save your panorama in a suitable format for sharing or printing.