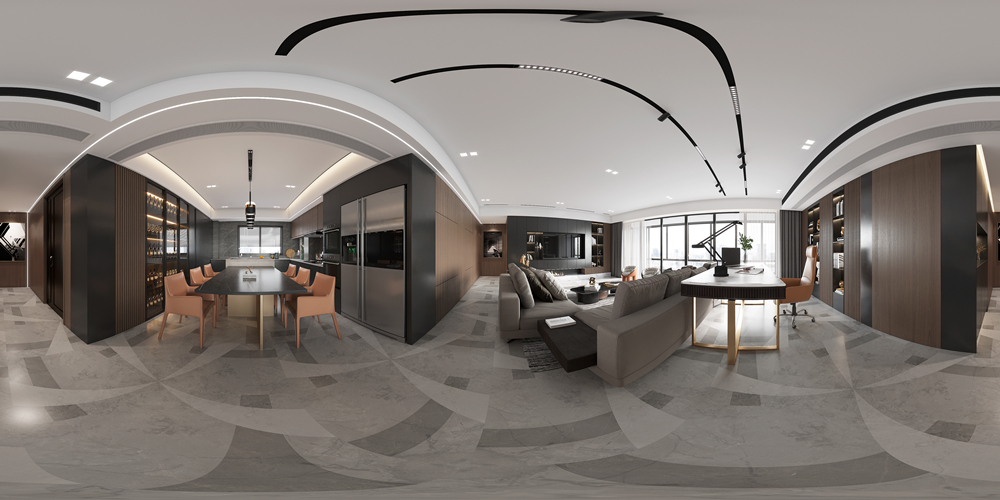
Unveiling the Canvas: A Guide to Crafting Stunning Panorama Pictures
Panorama pictures offer a unique way to capture the world, presenting expansive scenes that draw viewers in with their immersive quality. Crafting these eye - catching images is a process that combines technical know - how and creative thinking. By following a few key steps, you can transform ordinary scenes into breathtaking panoramic masterpieces.

Ⅰ、Choosing the Right Subject
The first step in creating a remarkable panorama is selecting the right subject. Look for scenes that showcase a wide expanse, such as a sprawling landscape, a bustling cityscape, or a large - scale architectural marvel. The subject should have distinct elements that can guide the viewer's eye across the image. For example, a winding river in a valley or the line of skyscrapers in a city can serve as natural focal points and create a sense of depth and movement within the panorama.
Ⅱ、Preparing Your Equipment
Proper equipment is essential for a successful panorama shoot. A tripod is highly recommended as it helps keep the camera steady, preventing blurriness and ensuring consistent framing. When using a camera, set it to manual mode to control settings like focus, exposure, and white balance. Maintaining uniform settings across all the photos you take for the panorama is crucial. Inconsistent settings can lead to visible seams and color differences in the final stitched image. Also, aim for an overlap of 30 - 50% between each frame, which provides the necessary data for seamless stitching.
Ⅲ、Capturing the Shots
When shooting, start from one end of the scene and move the camera slowly and smoothly to the other. If shooting handheld, pivot from your hips to keep the camera level. Take your time with each shot, ensuring that the composition is balanced and the focus is sharp. It's a good idea to take multiple sets of overlapping shots from the same position. This gives you more options during the editing process and increases the chances of getting a perfect alignment. Avoid moving too quickly, as this can cause misalignment and result in a less - than - perfect panorama.
Ⅳ、Stitching the Panorama
Once you have all your images, it's time to stitch them together using software. There are various software options available, each with its own features. Import the images into the software, which will analyze the overlapping areas and attempt to align them automatically. In some cases, you may need to manually adjust the alignment points for a precise fit. Pay close attention to the edges of the images to avoid gaps or misalignments. After alignment, the software will blend the images to create a single, continuous panorama.
Ⅴ、Refining and Finalizing
After stitching, review the panorama for any imperfections. Check for uneven lighting, color discrepancies, or blurriness. Use the editing tools in the software to make final adjustments, such as enhancing the contrast, adjusting the saturation, and sharpening the image. Crop the edges if necessary to improve the composition. When you're satisfied with the result, save the panorama in a suitable format for sharing or printing. With these steps, you can unveil the canvas of the world around you and create stunning panorama pictures that leave a lasting impression.